Environment
Install all software needed to run the project.
- This guide assumes you are using macOS.
- When seeing this character
~at the start of the line, you should read it as the expected outcome of the command you should run.
Installing Xcode
Install Xcode from the AppStore or Apple Developer.
Installing Android Studio
Install using brew
brew install android-studio
or download from Android Developer.
Installing Java
For running Android apps you need Java. We recommend using the Java version that comes with Android Studio.
We will add the path to Java binaries to the ~/.zshrc file. To do it run:
echo 'export PATH="/Applications/Android Studio.app/Contents/jbr/Contents/Home/bin:$PATH"' >> ~/.zshrc
source ~/.zshrc
Validate that Java is working by running:
java --version
You should see something like this:
~ openjdk version "17.0.9" 2023-10-17
~ OpenJDK Runtime Environment Homebrew (build 17.0.9+0)
~ OpenJDK 64-Bit Server VM Homebrew (build 17.0.9+0, mixed mode, sharing)
Also confirm the path to Java executable is associated with Android Studio
which java
You should see something like this:
~ /Applications/Android Studio.app/Contents/jbr/Contents/Home/bin/java
Now we need to link the place where Xcode tries to find Java to the one we just installed. To do it run:
sudo ln -sfn /Applications/Android\ Studio.app/Contents/jbr /Library/Java/JavaVirtualMachines/jbr
Avoid installing Java with brew to prevent issues with different version of Java when working within Android Studio and Xcode
Install Kotlin Multiplatform Plugin in Android Studio��
Open Android Studio and navigate to Settings/Plugins. Search and install the kotlin-multiplatform-mobile plugin.
Make sure you do this before ever opening the project to avoid issues with Gradle caches for ObjC bridged frameworks.
Congratulations, you are ready to start!
You can use Kdoctor to confirm your Environment is correctly configured.
Ignore the warning CocoaPods is not installed, it is not needed for MobileStack
Setup the repository
Make sure you have a GitHub account and a repository created for your app in advance.
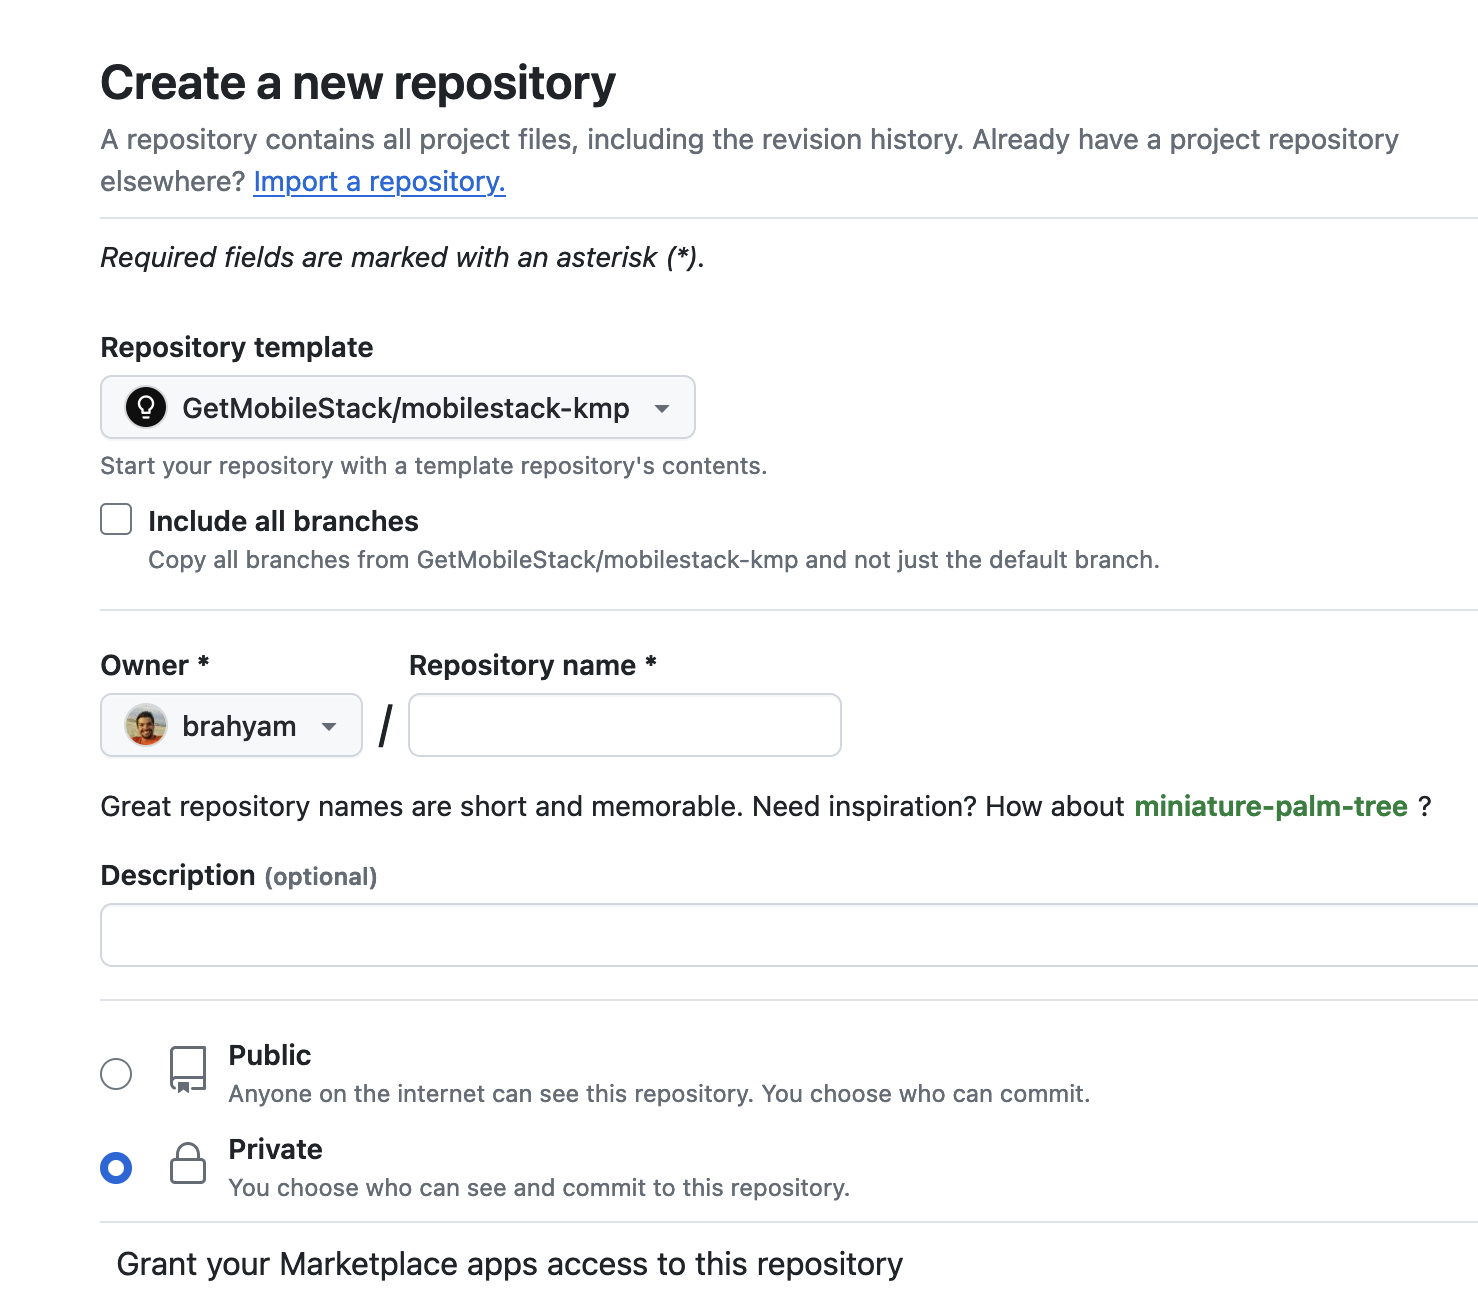
The following steps describe the manual process. If you are using Github, you can select MobileStack as template creating a new repo.
or follow the steps below for a manual setup.
- HTTPS
- SSH
GitHub requires a credentials manager to clone via HTTPS. Make sure you have it configured before running the following commands.
Replace [YOUR_APP_FOLDER_NAME] with your app name in the following commands:
git clone https://github.com/GetMobileStack/mobile-stack-kmp.git [YOUR_APP_FOLDER_NAME]
cd [YOUR_APP_FOLDER_NAME]
git remote remove origin
git remote add origin [YOUR_GIT_REPOSITORY]
Replace [YOUR_APP_FOLDER_NAME] with your app name in the following commands:
git clone git@github.com:GetMobileStack/mobile-stack-kmp.git [YOUR_APP_FOLDER_NAME]
cd [YOUR_APP_FOLDER_NAME]
git remote remove origin
git remote add origin [YOUR_GIT_REPOSITORY]
Now commit all the changes and push them to your repository.
git add .
git commit -m "Initial commit"
git push -u origin main
Setup future updates (optional)
- HTTPS
- SSH
git remote add upstream https://github.com/GetMobileStack/mobile-stack-kmp.git
git remote set-url --push upstream no_push
git remote add upstream git@github.com:GetMobileStack/mobile-stack-kmp.git
git remote set-url --push upstream no_push
Whenever you want to pull the latest MobileStack changes, run:
git pull upstream main
Carefully merge the changes if you have made any local changes to MobileStack files.
Make sure you installed the kotlin-multiplatform-mobile plugin in Android Studio before opening the project. eg. without opening the project go to File -> Settings -> Plugins -> Marketplace -> Search for kotlin-multiplatform-mobile and install it.